A quick and easy way to get much better privacy and security from Firefox by using Arkenfox’s user.js.
Why Harden Firefox?
There are several reasons for privacy and security. To start with some of the benefits for privacy, hardening Firefox will greatly reduce websites’ ability to track you across the internet. Most websites rely on giant companies to handle their data analytics, so even small websites share your browsing data with large companies like Google. Hardening Firefox disables many of the mechanisms used to track your web browsing. Another major benefit for privacy is changing your browser’s fingerprint. To explain fingerprinting in very basic terms, your browser tells every website it visits what type of hardware your computer has, it’s operating system, and many other details. Hardening Firefox changes that information by spoofing (faking) it. I’ll show you a bit later what that looks like and how you can see for yourself what your fingerprint looks like to the websites you visit.
This project is a great way to get introduced to some of the behind-the-scenes functions of your browser while also providing a tangible benfit. If you don’t want to go through this process, you can get almost all of the benefits by just using another gecko-based privacy browser like Mullvad browser or Librewolf (Gecko is the core of Firefox, just like Chromium is the core of Google Chrome, Brave, or Microsoft Edge). Mullvad browser and Librewolf are basically hardened Firefox out of the box with no configuration required for very good privacy.
Let me just make sure you know that this is very quick and easy to do, so the benefits far outweigh the minimal effort. This should take less than 5 minutes, even for a very inexperienced person.
Also keep in mind that hardening Firefox or using any other browser that isn’t Tor will still give your IP address to every website you visit, and your DNS queries will still be given to your ISP (Internet Service Provider). This means that you will need to do more than just use a hardened or privacy focused browser to have true privacy or anonymity online. This walkthrough will not over those facets of privacy. However, you will still gain a great deal of privacy and security just by improving your browser.
Keep This In Mind If You Ever Have Problems Or Annoyances
Maybe you want to keep a profile that still has Firefox’s default settings in case you go to a website which is effected by your hardened configurations. Some of the settings can effect certain functionalities of websites. I personally rarely notice any problems, and I find it easier to just pull up a problematic website on the Brave browser. I think it’s easier because you don’t have to change your Firefox profile, and sometimes websites just run better on Chrome based browsers (which Brave is). For example, when I took my amatuer radio exams, a chromium-based browser was required for the testing platform, and also my hardened Firefox had issues with the FCC website’s portal and database. That being siad, that is really the only time I can remember having a serious problem off the top of my head.
Brave with it’s default settings is more private and secure than Firefox with it’s default settings. However hardened Firefox is better than Brave’s default configuration (according to people much more experienced than myself). As a final note before we begin focusing on Firefox, Brave is great for someone who doesn’t care enough to do even this small amount of work to have a better browser, or for those who want to remain in a chromium-based ecosystem. It is what I recommend for anyone who is completely uncomfortable doing anything with a computer other than searching the internet or writing a Word document. It’s easy for them to do and it lets them port over all their Google Chrome browser bookmarks, passwords, Google accounts, etc. Ussually they don’t even notice any real difference once it is set up.
Another inconvenience which is for your security and privacy, but may be too annoying, is that this hardened Firefox will clear your browsing data and cache every time you close the browser. This means that if you close the browser, you aren’t going to still be logged in to your accounts, or even have any history. It’s a clean slate. This prevents certain attacks, but if it’s really annoying, you can disable it. I find it to not bother me as all I have to do to login is open my password manger, and I can open the website from a link in the password manager, then have it auto-type my username and password. It takes a few clicks and 10 seconds while being very secure. I use KeyPassXC on Linux, and have my family use BitWarden on Windows, Android, and iOS. Both are free and open source, with Bitwarden having premium features for very cheap.
How To Start
Here is a screen shot of a freshly installed Firefox in it’s default configuration.
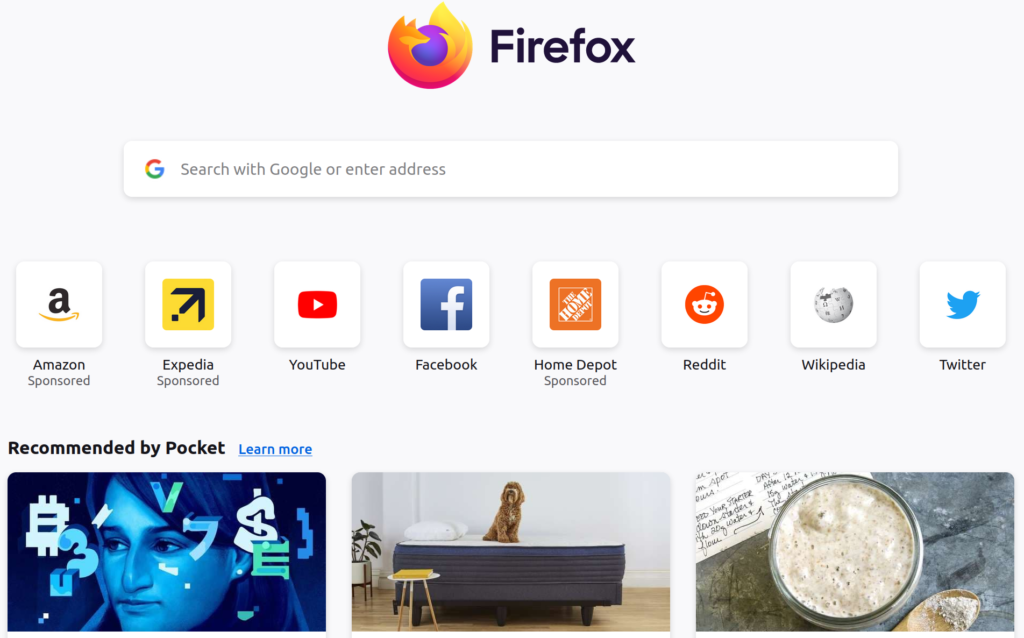
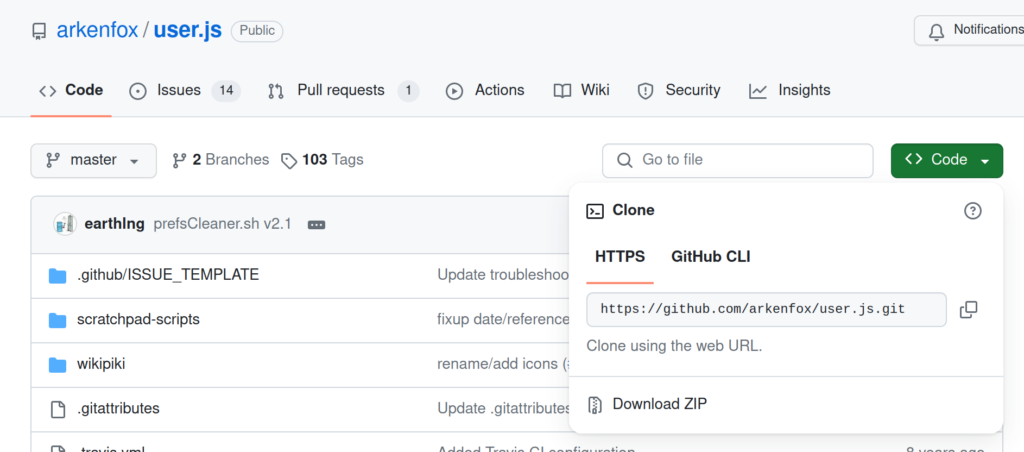
It’s going to look very different by the time we’re done. Let’s first start by going to download the user.js profile from Github. It’s made by Arkenfox.
https://github.com/arkenfox/user.js/
Click ‘Code’ then ‘Download ZIP’.
Firefox Profiles
You can open a new empty tab so you still have github open in case you want to read more about it directly from Arkenfox. There are resources on there to get more detailed information about what the effects will be and how to make changes if you need to.
In the new tab, type ‘about:profiles’ in the search bar at the top of the window. Press (Enter) and it should take you to the page where you can create and modify your Firefox profiles. Here you can make multiple profiles for different uses/users.

The safest way to modify a new profile which doesn’t have your bookmarks, passwords, etc. (side-note: In general please don’t use your browser to store your passwords. Just use a free open source password manager like Bitwarden or KeePassXC. You can disable Firefox from asking to save your password in the Privacy and Security Settings).
Click ‘Create New Profile‘

You can move all your Bookmarks etc. to your hardened profile after we are done, or during the next step.
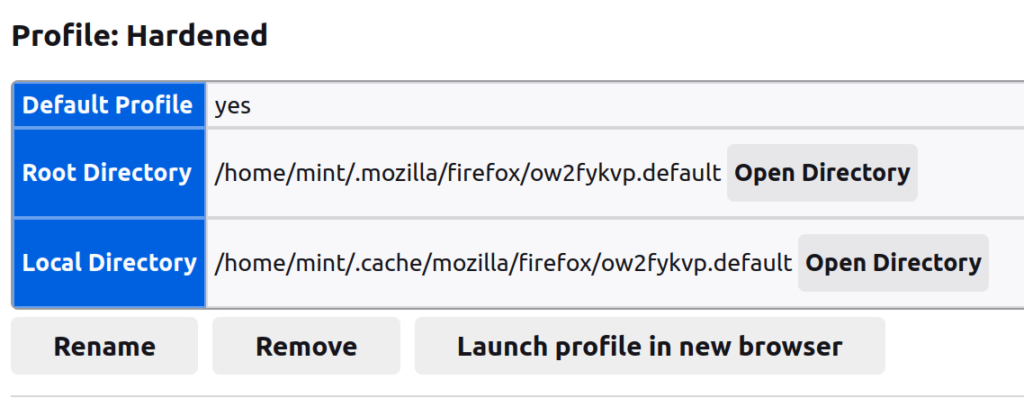
Now click ‘Rename’ on your new profile. I named mine “Hardened” as you can see here.
If you are committed to using the Hardened profile full time, then I would suggest you click ‘Set as default profile’ next to the ‘Rename’ button. You don’t see it in my screenshot below because I already selected it to be my default profile.
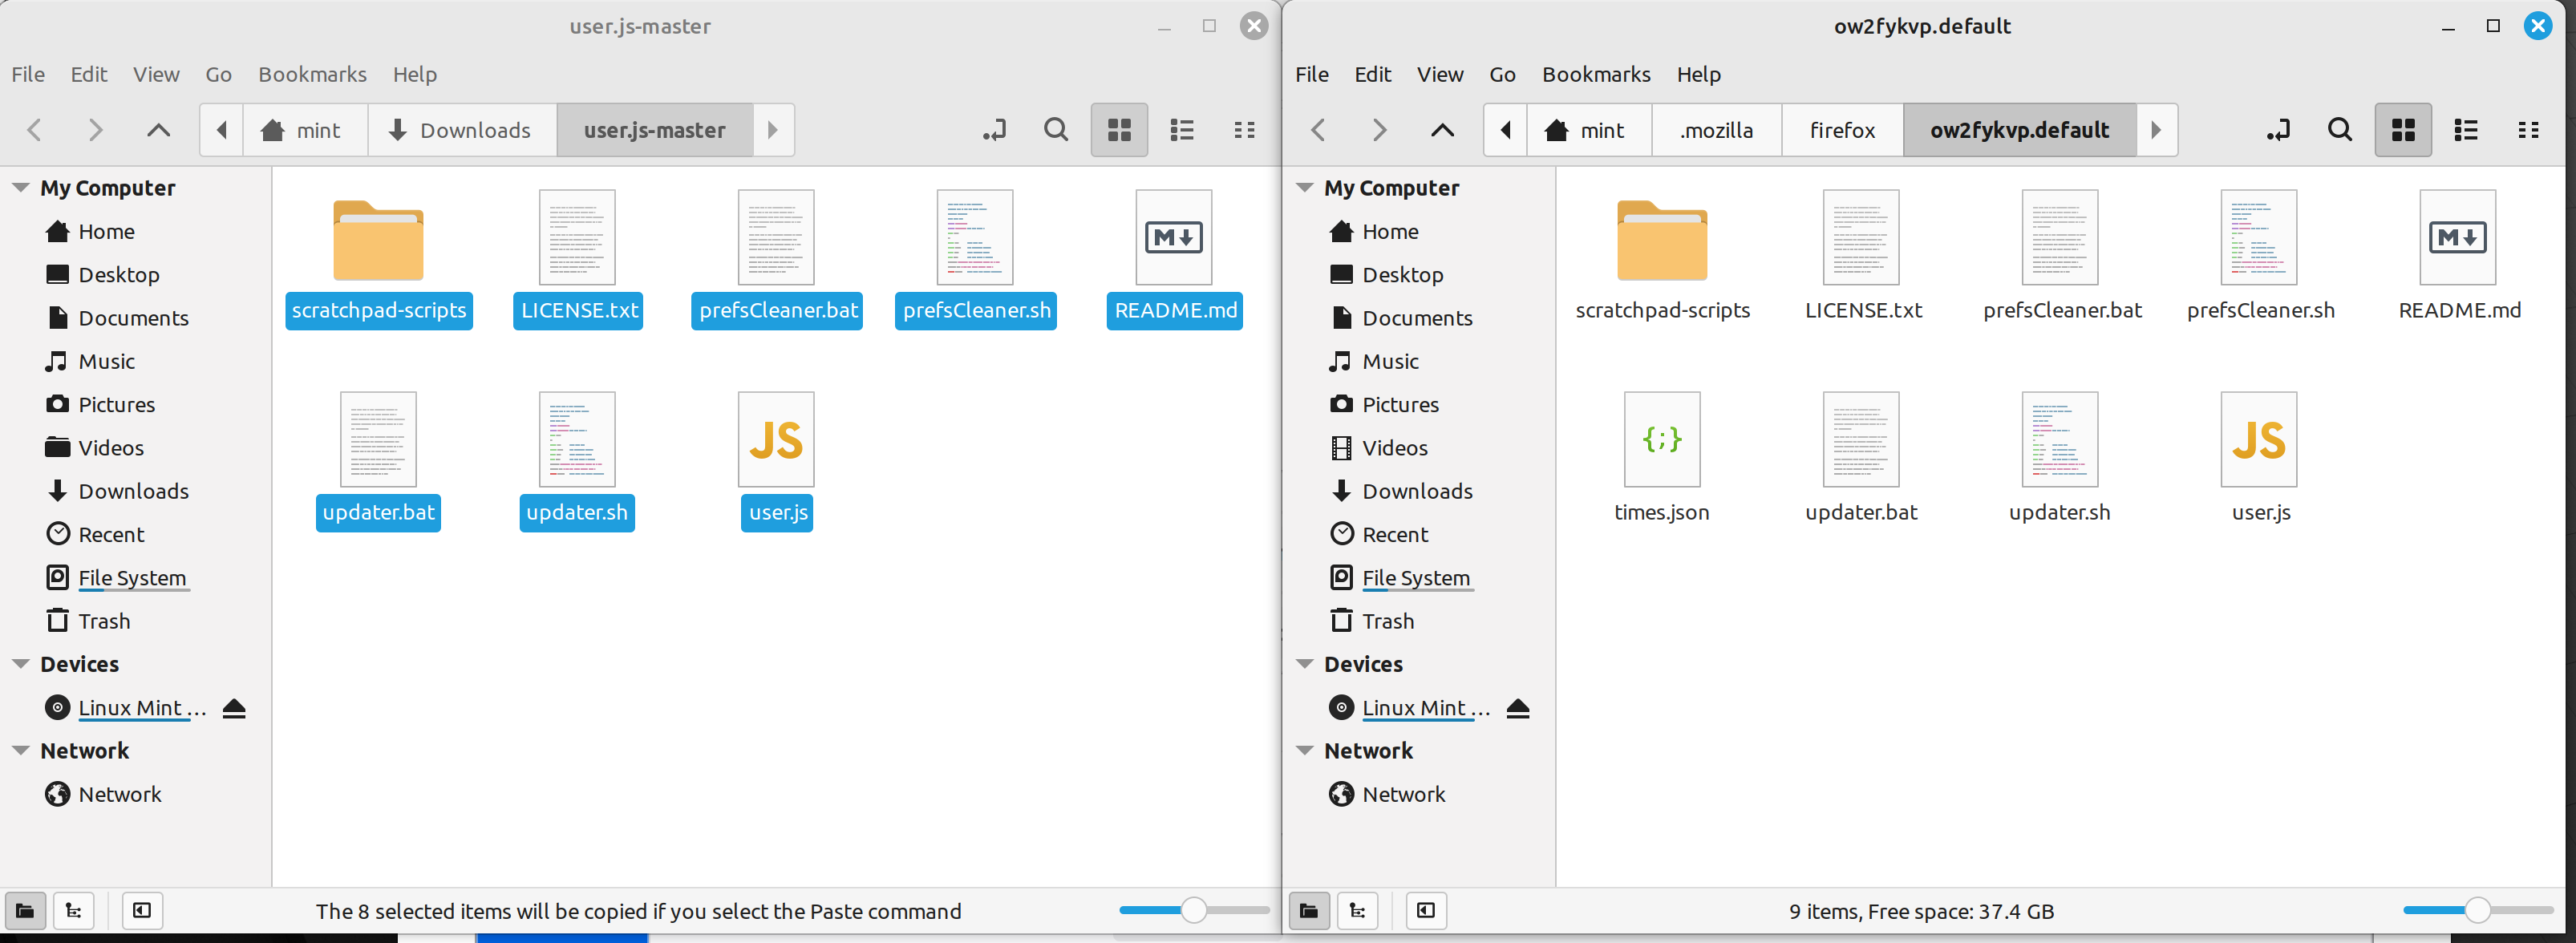
Next click ‘Open Directory’ in the ‘Root Directory’ section. This is where you have to paste or drag and drop in the uncompressed user.js ZIP, as I’ll show you below.
Below is a screenshot of both my Downloads folder, after the step is complete, where I downloaded the user.js ZIP to (Left) and the Root Directory of my Hardened profile (Right). You need to right-click the ZIP you downloaded and click ‘Extract All’. Once it’s extracted, just copy all the files from the extracted ZIP and paste them into your Hardened profile’s Root Directory folder. I only say to copy and paste instead of moving the folder just so you don’t have to re-download it again if something goes wrong.
You now have a Hardened Firefox profile. But wait! I just opened a new tab and the home screen looks the same! That’s because the profile won’t take effect until you open a new browser. That’s why there is a ‘Launch profile in new browser’ button next to your Hardened profile in the ‘about:profiles’ tab. You could also just close your Firefox out and open a new browser.
Fingerprinting And How We Can Hide From It
You’re first thought might be “oh no I broke it! There’s nothing on the home page, not even a Firefox logo!” Don’t worry. Embrace your new clean browser with nothing to distract you. It’s just you and the search bar. You will notice another difference as you use the browser. When you maximize the browser window on your screen, you will see a strange border surrounding the outer portion of your window. That is Firefox spoofing your screen resolution. Don’t worry, you can still view full screen videos. The reason it’s doing that is to lie to every website you visit. Your browser is pretending to have a different screen size. You may have never thought about it before, but every website you go to can tell the resolution of your screen when your browser is maximized, the type of operating system you’re using, the type of processor you’re using, and much more. That is what is used to “Fingerprint” a user to reduce their anonymity online. If you’ve ever heard of the Tor browser, which you should learn about if you want to persue a career in cybersecurity, then maybe you are familiar with the advise to not maximize the Tor browser window. That advise is rooted in this same concept. In fact, this hardening is setting the spoofed screen resolution to the same resolution a Tor. That is because there are already many Tor users, so the pool of other browsers set to this resolution is large.
While we are learning about fingerprinting, I’d like to mention how Brave handles this issue. Hardened Firefox, Mullvad browser, Librewolf, and Tor all take the approach of making everyone look the same. Brave takes a different approach by randomizing your fingerprint. This means it’s still not your real fingerprint, but it’s also not the same as everyone else. Some people argue about which is the better approach, as well as if the resolution that Tor uses is really the best since not many actual monitors use that resolution anymore.
Why does it matter if they know what type of computer I have if I have a VPN to hide my real IP address, and my real email, phone number, and name are not given to any website while I have this specific IP address. If I get a new IP address from my VPN before giving any identifying information to a website, then why would it matter if they knew the type of computer I have?
Well Fingerprinting is a numbers game. How many people are using the same computer as you, the same screen resolution, and the same operating system? It must be many thousands at least. Okay, well that doesn’t sound like enough to guess who I am. Well if you built your own PC like I did, then there are not going to be nearly as many people with the same computer fingerprint as me. However, even if you have a very common computer, even the most common computer in your region, and you use a VPN, ask yourself “how many people visit the same exact websites as me everyday? How many people watch the same YouTube channels, visit the same blogs, etc. It becomes a much smaller number very quickly once you add all of those factors together. Now here’s another one, how many people have all those things in common with you and use the same VPN provider accessing it’s server in the same region? It is trivial to find out what VPN an IP is coming from for most VPN providers. This means they know what VPN you’re using. All these factors put together can give a pretty good guess as to who you are. Especially if you use the same computer, with the same VPN, even if it’s a different IP address, and then sign into an account tied to your name. Now they know what your exact fingerprint looks like and can compare it to the activity you did on another IP address from the same VPN provider.
See How Unique Your Browser’s Fingerprint Is
Now that you have an idea of what Fingerprinting is, I can explain what your new Firefox profile is doing to counter the fingerprinting. You can test it out yourself by visiting:
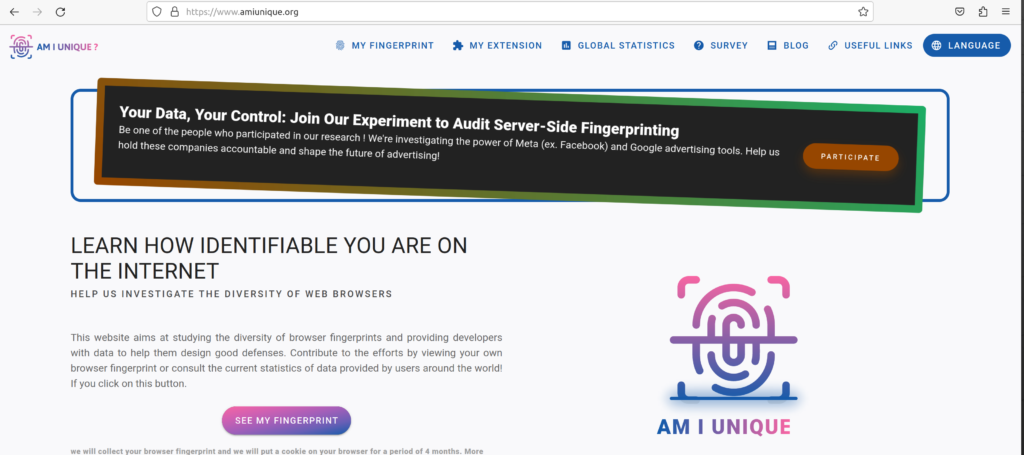
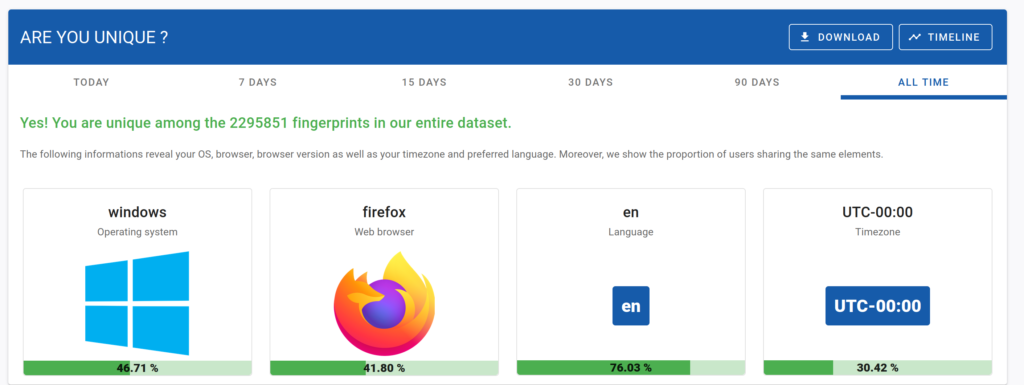
click ‘See My Fingerprint’ and you should get similar results as my browser running just user.js configuration with nothing else installed. By the way, I did this test on a Linux virtual machine, but you can see it says I’m using Windows. That’s being spoofed also. However websites can actually tell you’re spoofing, but It doesn’t matter as long as they don’t know what your real computer’s fingerprint looks like.
Optional But Recommended: about:config Changes
These changes can help further increase security and privacy but are not totally necessary.
This is what you should see if you type about:config into the search bar. The list pops down if you click “show all”. It’ll show you ever configuration you can change in Firefox. Many of these are changed by using user.js.
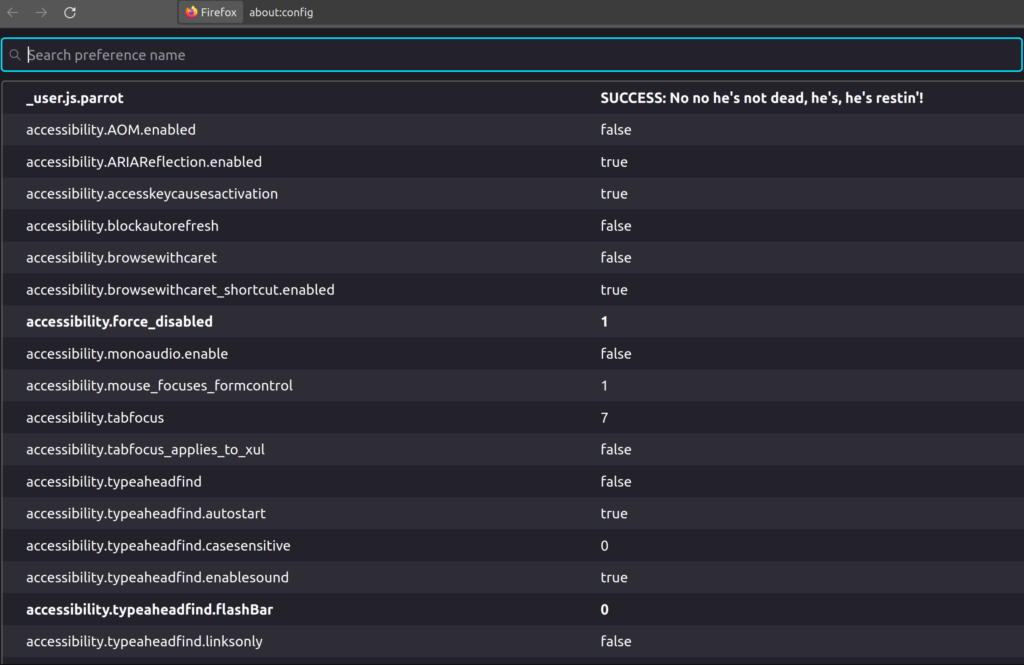
The first config you could change is to make it so your browser will never use deprecated encryption. This will look different than guides made a few years ago because Firefox has changed the default to only allow this deprecated encryption if better encryption isn’t available.
This deprecated encryption being allowed in any circumstance can open the possibility of an SSL Downgrade Attack, which is when the attacker lowers your encryption level so they can more easily decrypt it. The only reason you would realistically need to use such bad encryption is if you are using a very old device which can’t handle newer encryption standards.
Type security.ssl.deprecated.rsa_des_ede3_sha into the “search preference name” bar.

Click the small box on the far right (Toggle Button) to change it to “False”

The next configuration change you can make is to disable any location data from being shared with websites you visit. If you use any services that need your location then don’t disable this.
Type geo.enabled

Click the Toggle Button on the far right to change it to “False”

Please read the description for this next one. It can cause you problems. You may want to skip it.
The final configuration change I’ll tell you about here is:
network.http.sendRefererHeader
This is how affiliate websites know that you reached a website by clicking on a website’s or a YouTuber’s affiliate link. This is telling a 3rd party what website you came from or what YouTube video you watched. This isn’t a huge deal if you’re already enhancing your privacy in other ways, but it’s still another piece of data you can prevent from being collected about you. It’s also used for other things like telling a website what you searched into google to find their website.
It’s probably the most likely thing here to give you problems. If you are going to make Firefox your hardened browser and have Brave on the side you can just quickly pull something up on Brave if it’s not working. You could also just switch your Firefox profile to one with default settings. The main issue I’m aware of is websites thinking you are a bot and giving you seemingly endless captchas.
If you aren’t trying to deal with problems like that, then leave this setting alone. I’m personally willing to pop open another browser when things aren’t going to work on a certain website, but for a better user experience, just leave this alone.

To disable it, click the “Edit” button, in the same place as the Toggle Button was in for the other ones.
Then set the value to 0 and click save, which is the same as the edit button.

Optional But Recommended: uBlock Origin
One last thing I would recommend, and which Arkenfox recommends after installing user.js, is to install uBlock Origin which is widely regarded as the best ad-blocker available. It often out performs the big name Adblock, and it’s open source, so you can be certain that many privacy and security minded nerds looked at the source code to make sure they aren’t violating your privacy or compromising your security. By the way, the same is true for user.js, if you couldn’t tell by looking at it’s Github page.
To install it, just go to their website and click the link to go to the Mozilla store, or just click this link to go directly to Mozilla Add-Ons to install the add-on https://addons.mozilla.org/en-US/firefox/addon/ublock-origin/
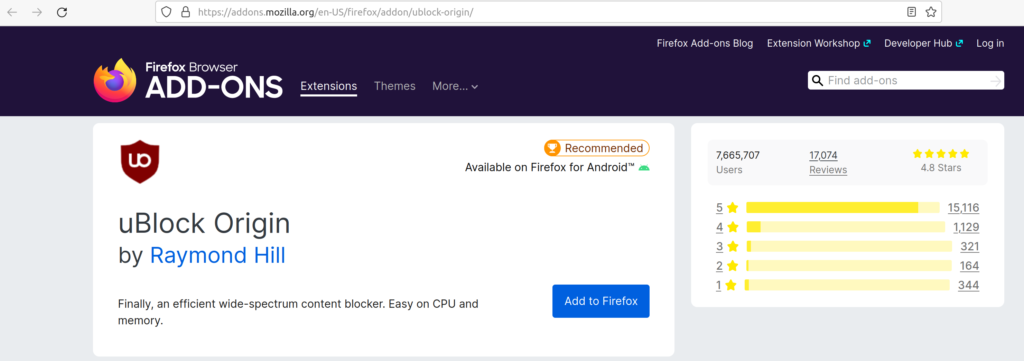
Now keep in mind that many websites will not like that you are reducing their income by blocking adds, but you can always disable it for a certain website, either temporarily or permanently. With the current state of Google’s ads, having an ad-blocker is actually a security benefit. Google still lets malicious websites put up ads. These malicious ads can come back as the first, top result on a Google search, even if you didn’t misspell the website’s name. This is why you shouldn’t click on the first few results on Google, which you can identify by them being labeled as ads. That’s a giant company with countless resources to weed out malicious ads, so just imagine how bad some other websites are. This is a great reason to use an ad-blocker.
Prevent Tracking From CDNs
CDNs (Content Delivery Networks) are used to help deliver content to a user without having to send your traffic all the way across the world to get it. This helps websites have higher speeds for their users. The CDNs are ussually giant companies that handle many different websites’ content delivery from large data centers. There are paid CDNs, but there are also free CDNs. The free CDNs are able to provide this service for free because they are gathering valuable data on users. If you want to be serious about your privacy, then you don’t want to have your browsing data taken by these CDNs.
Decentraleyes is a browser add-on which uses local downloads onto your computer to emulate a CDN.
https://addons.mozilla.org/en-US/firefox/addon/decentraleyes/
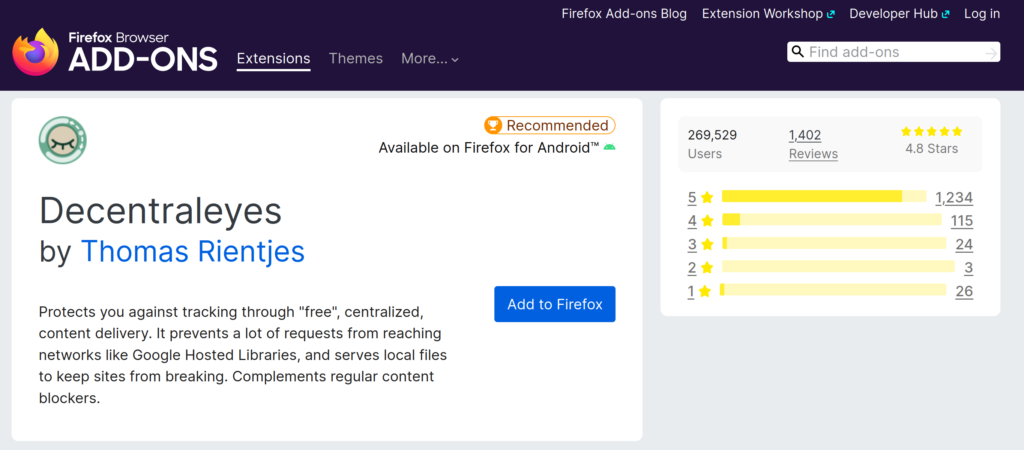
(Available for chrome too so you can put it on your Brave browser also)
You can also use their tester after you have installed it to see if it’s working.
https://decentraleyes.org/test/
Changing Your Default Search Engine
This is very easy and can be done without hardening Firefox as well. All you have to do is go to Firefox’s settings, then go to the ‘Search’ tab on the left, then you should immediately see the option to select your default search engine, which will be Google by default, even with user.js installed.

I like DuckDuckGo as a privacy respecting search engine. Some people have disagreements with how they filter certain results. They respect my privacy and they work well so I just use them. Some people prefer SearX, but I just stick with what’s been working for me when it comes to search engines. Also Brave browser has their own search engine which I like very much. I thought I should mention that since I mentioned Brave as a good alternative for those who don’t want to harden Firefox. One thing they all have in common is that they are not Google. Google doesn’t just give you results, they invade your privacy in a variety of ways, even with just their search engine. I won’t delve into that here but it’s very easy to research if this is news to you.
Peace At Last
Once you have done that, this is your new home screen. just a search bar, your tabs, your bookmarks bar and a white void to act as a canvas for your thoughts.
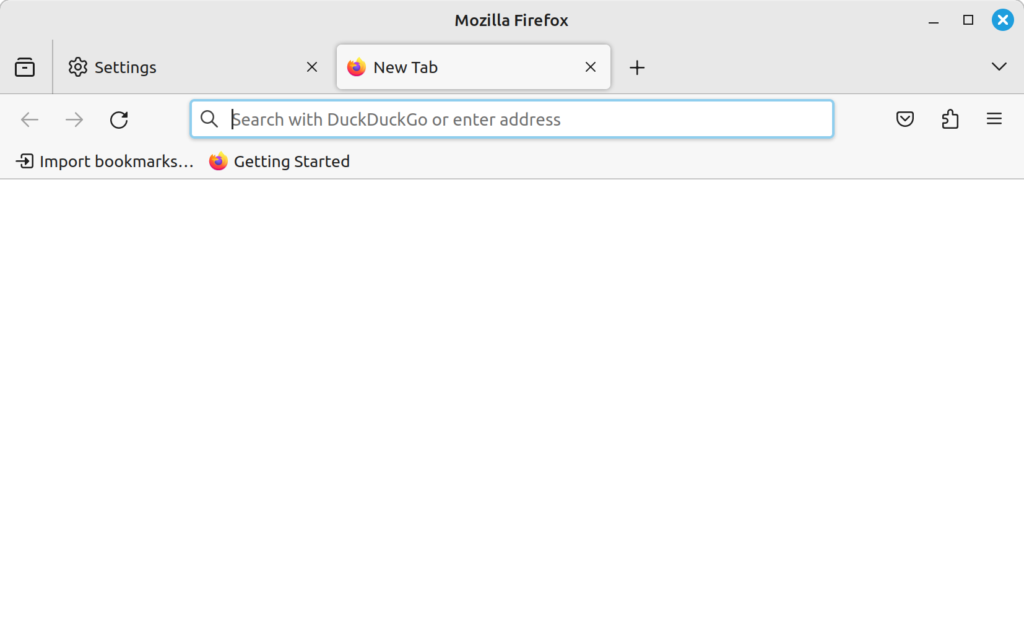
No flashy news headlines or temptations to just stop researching whatever you were working on just to click the Netflix logo or look at deals on Amazon. The only way that will happen is if you bookmark them and have those bookmarks under your search bar. Even then, once you search for something, or click a bookmark, or do anything else to leave the new tab’s home page, the bookmarks bar disappears by default. You can change that too if you want to waste space at the top of your screen when you could just open a new tab to see the bookmarks bar again. That’s up to you, but I don’t condone it.
Now You’re Hardened
I hope you stick with the hardened Firefox. It might take a bit of getting used to, and you can scale back certain settings to make it run better with a bit more risk. You can also make it even more hardened by disabling JavaScript, which will break certain functions on websites. Go ahead and get Brave if you don’t have it, keep it on standby for if you have a problem and don’t have the time to mess around with settings, not that it’s common to have problems.
I didn’t go into how to set uBlock Origin to not block ads for certain websites, but that’s a quick how-to you can look up if you need it. They are so good that they can pass by many anti-ad-blockers anyway.
Learing about how I could have more privacy and personal security was one of the strongest motivators for learning more about cybersecurity as a career. I think it’s a great place to start if you are interested in pursuing a cybersecurity, or even an IT career because you learn a lot while also getting tangible benefits.
I hope this small step towards having more privacy and security for your personal devices will get you to look into more ways you can keep claiming back your right to privacy and security. At the very least you will have learned that you can greatly customize your web browser, and you learned a bit about browser fingerprinting.
Thank you for reading!

0 Comments