An introduction into using Nessus Vulnerability Scanner to identify, learn about, and manage vulnerabilities by running non-credentialed and credentialed scans on a Windows 11 virtual machine.
Key Skills and Lessons Learned in This Lab
- Using Nessus to perform remote vulnerability scans (credentialed and non-credentialed scans).
- Learning about specific vulnerabilities and how to remediate them.
- Configuring a Windows 11 machine to allow remote registry scans.
- Learning how vulnerability management must be balanced with end user acceptance in a business setting.
- Learning the importance of testing and having a rollback plan before making changes in production environments.
This lab is based on an instructional video by Josh Makador called “Nessus Tutorial for Beginners: Vulnerability Management” https://www.youtube.com/watch?v=lT6Px9zJM3s
Introduction
I did not follow along exactly as Josh Makador shows it because his video is a couple years old. Most of my alterations are minor such as using windows 11 instead of Windows 10, and using the newest versions of Nessus and VMware. I am using VMware Workstation 17 Pro instead of VMware 16 Player.
One aspect that I appreciate about content like this, made by people with years of experience in various roles in cybersecurity, is that they comment on how these tools would realistically be used in an organization and provide context. I’m happy to get some hands-on experience with Nessus, as it interested me when I first learned about it while studying for the CompTIA Security+ certification.
Getting Started with Nessus
Nessus Essentials is available for free. To get it I first had to go to the Tenable website. https://www.tenable.com/products/nessus
Then click “Try” and enter my name and email. For some reason my Proton.me email didn’t get accepted as a “business email”. I had to use an old yahoo.com email.
This will obviously be different if your host machine is a Windows or Mac, but I use Linux as my daily driver operating system. I downloaded Nessus for my distribution of Linux. I Downloaded packages for it and then started the Nessus service in the terminal with this command:
sudo systemctl start nessusd.service
To check and see if it is actively running at any point in time, you can use this command
sudo systermctl status nessusd

It should show the service as active, as highlighted in green above. Depending on what Linux distro you use, your terminal may not highlight text with different colors, but most “Just Works” distros (more mainstream Linux distributions) will highlight.
Now from here on it will be the same on any operating system.
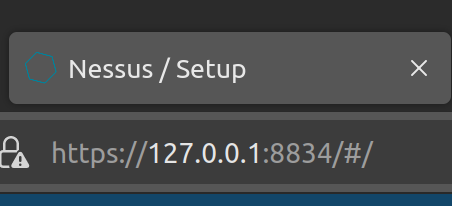
To open Nessus in a browser, it should be running on port 8834 by default, so I just typed https://127.0.0.1:8834/#/ into the browser.
The browser will say it’s not a secure website so you have to tell it to visit the site anyway.
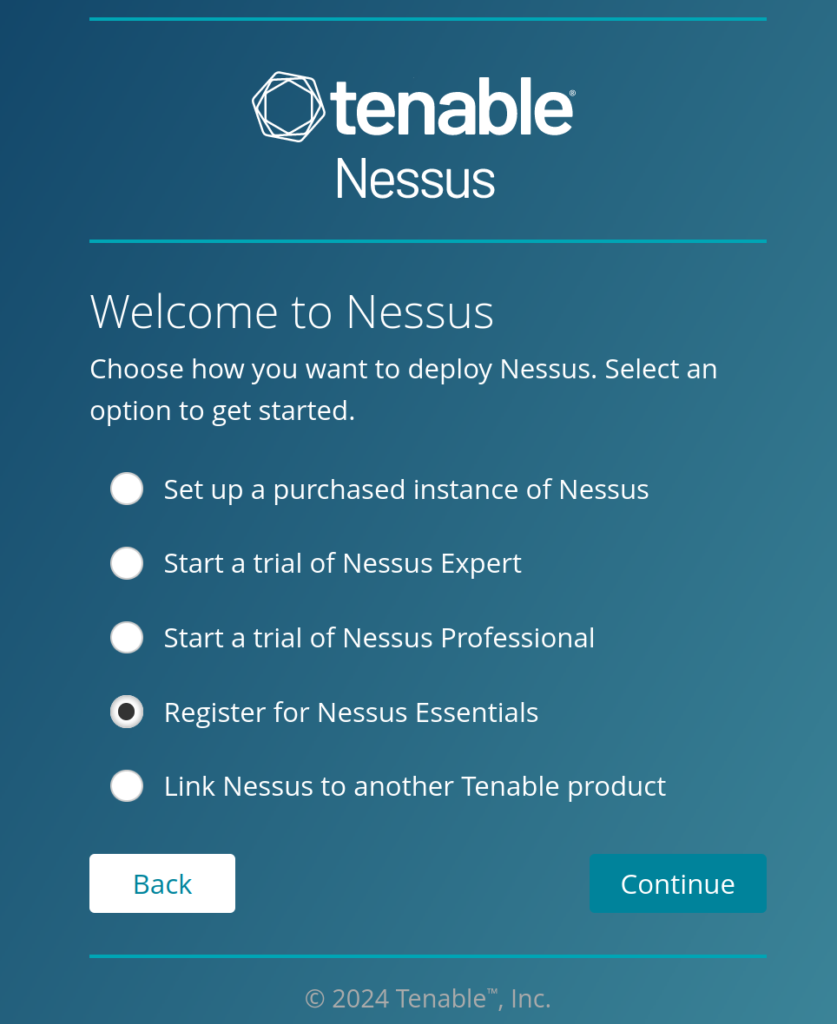
Click “Register for Nessus Essentials” as shown above, then click “continue“.
The following screen will prompt you for your name and email. You can skip this and use the code from your email, or you can just enter your name and email again and it will give you a new activation code. You may need to do this if you have problems with the original code.
Once your activation code is accepted, it takes a few minutes to download plugins etc.
I found a weird visual effect I had never seen before with the spinning action-in-progress indicator. It had an off axis rotation and 2 lines that rotated with it. It persisted every time I would use Nessus, even after reboots, so I think it is because of my browser settings. I use a very locked down hardened Firefox which breaks certain visual components of websites, but I don’t care. It does look very funny.

Getting the Windows 11 VM Set Up
Then I spin up my Windows 11 VM and search “wf.msc” so I can change the firewall settings to allow Nessus to communicate with the VM.
The changes I’m going to make here are not realistic changes you would make to a firewall in a production environment, but for this lab I’m trying to focus on learning Nessus, so I’m just making quick easy changes which would not be the safest thing to do in a production environment.
Windows Defender Firewall Properties
Turn “Domain Profile”, “Private Profile”, and “Public Profile” firewall states to off.
Now a Ping from my host to my VM is able to get through. If the ping is not able to get through, then it is probably an issue with your network settings on the VM. Try setting your VM’s network to “Bridged“. Also as explained in more detail in the next section, disable your VPN if you are using one on your host computer.
Skip This Section If You Don’t Use a VPN
This is a side tangent for any VPN users doing this lab. If you are doing this lab and are using a VPN, the easiest thing to do is to just turn off the VPN for the lab and make sure any kind of “Kill-switch” setting is off in the VPN’s settings. This is a setting that is usually not on by default with commercial VPN’s, so if you turn your VPN off and you still have internet connection, then you’re fine. It’s a feature that will completely disconnect your computer’s network connection if the VPN is disconnected. It’s to prevent any of your traffic from showing your actual IP address if your VPN connection is lost. To keep it simple, having your VPN on can cause problems with the communication between your host machine and your virtual machines, so the easiest thing to do is just turn it off.
Performing a Basic Scan
Nessus can perform several types of scans. To start out with the most simple and fastest, we will perform a “common ports” scan without any credentials.
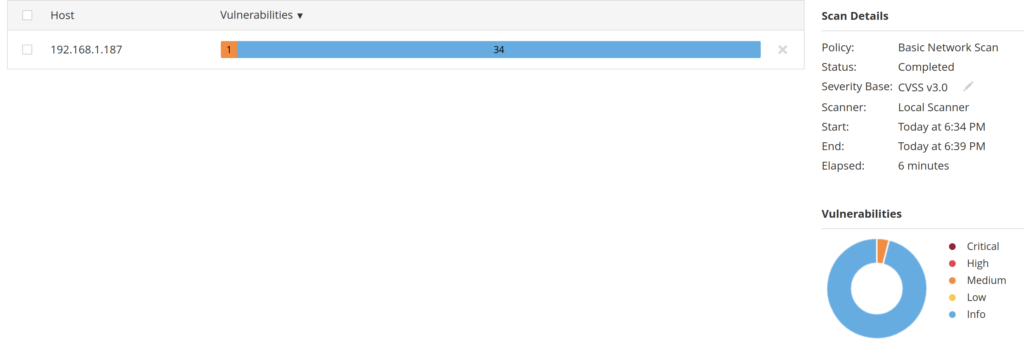
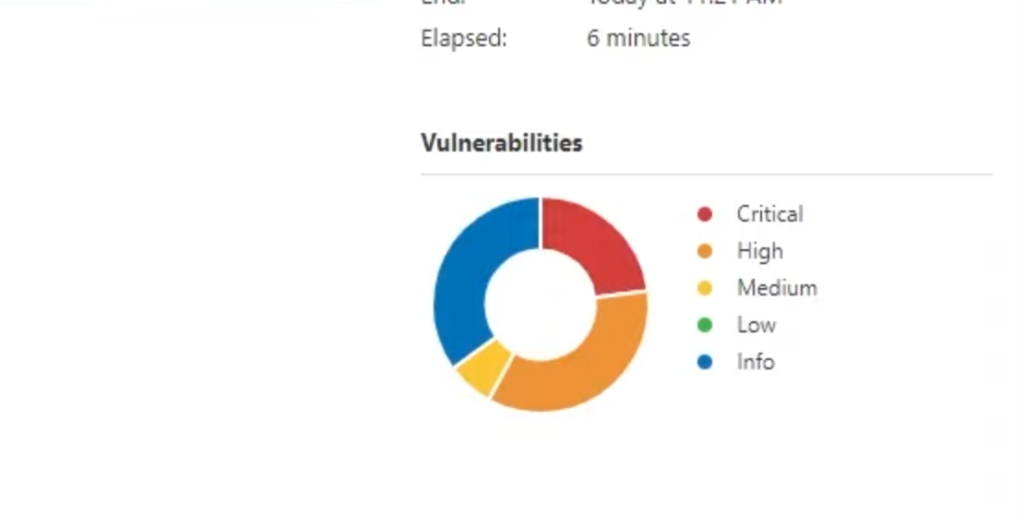
When I ran a Nessus scan for common ports, it came back with 1 Medium level alert (yellow) and 35 Info Level alerts (blue). This was a non-credentialed scan, meaning it is scanning without having any login information. This is a good place to start if you want to see what an attacker could possibly take advantage of if they did not have any user login information.
The Medium alert is for “SMB Signing Not Required” and has a CVSS (Common Vulnerability Scoring System) score of 5.3 out of 10.


One great feature of Nessus is that it provides you information on the vulnerability and additional resources to learn more about it. It also provides a solution to the problem.
Configuring Windows to allow a Credentialed Scan
The next part of this project is to move on to a credentialed scan. To allow the credentialed scan, configurations need to be changed in the Windows services.msc. These configuration changes may not be ideal for a production environment, as they are instructions given by Nessus on how to do a credentialed scan on a Windows host that is not on the domain. Either way it will give me some experience running a credentialed scan. When the time comes for me to actually run a credentialed scan in a corporate environment, I will be aware that I may need to research the best way to perform it.
The first change I made was to change “Remote Registry” from “Disabled” to “Automatic”. This will allow Nessus to crawl through the registry and see if there are any insecure configurations such as deprecated cipher suites being enabled.
Next I ensured that file and printer sharing were on. Then I went to User and Account Control Settings and set it to “Never Notify”. This is a prime example of something you would only really do if the Windows host you are scanning is not on the domain.
Then I added a key to the Registry by opening Registry Editor (Regedit). Under
Computer\HKEY_LOCAL_MACHINE\SOFTWARE\Microsoft\Windows\CurrentVersion\Policies\System
I created a “DWORD” called “LocalAccountTokenFilterPolicy” and set its value to 1.
Then I restarted the VM to let the changes take effect.
Performing a Credentialed Scan
Back in Nessus, I opened the configurations for the Win 11 scan so I could add the credentials.
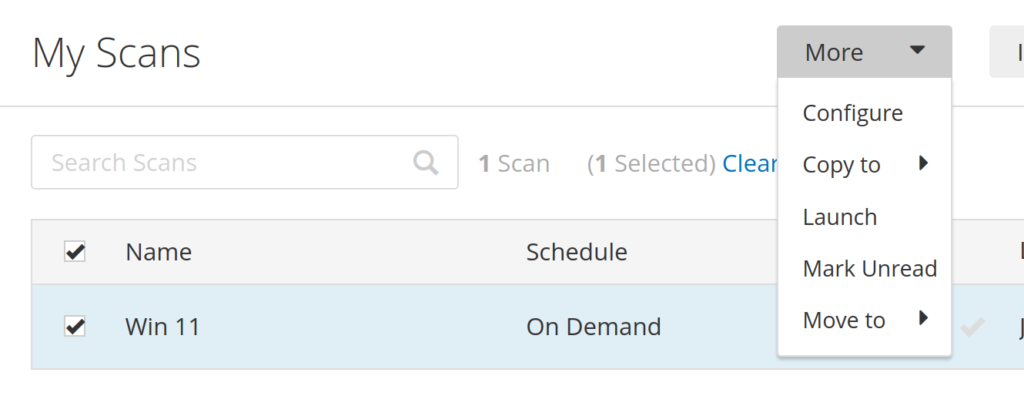
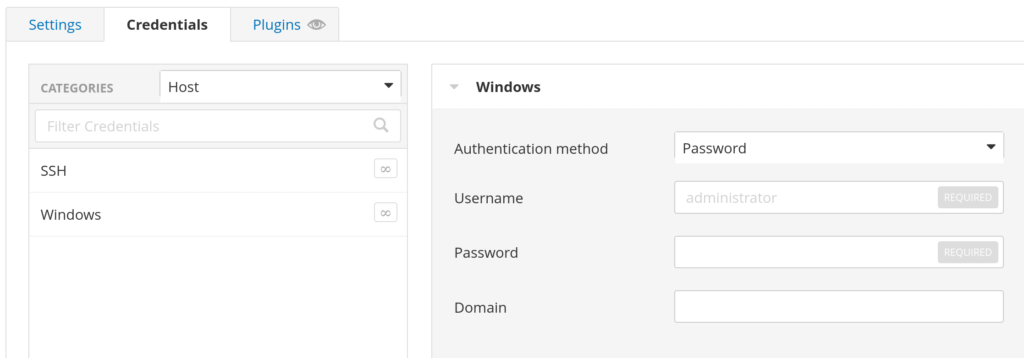
Clicking on “Windows” opens the fields to enter the username and password. Entering these credentials into Nessus allows the scan to have full access as if it were an attacker who was able to phish or otherwise obtain a user’s credentials.
The results were very different with far more serious vulnerabilities.

Credentialed Scan with Deprecated Software Installed
To get another set of more interesting results from a scan, I installed an old version of Firefox, version 3.6.12, from 2015 so that there would be even more vulnerabilities for Nessus to find. I did not have to change any of the configurations in Nessus, I only had to launch the scan again.
The results were even more severe with dozens more “Critical” and “High” severity vulnerabilities. This really shows the importance of patching all your software, although in this example it is much more extreme because of how old the Firefox version was.
The Human Side of Vulnerability Management
Another more complicated aspect of vulnerability management that Josh Makador discusses in his videos on this topic is that the hardest part of dealing with vulnerability management comes from dealing with the humans involved. There needs to be agreement and cooperation among all the parties who will be effected by any changes made to their systems. As someone who is focused on managing vulnerabilities, it’s important to remember that your job above all else is to help make the business function. We keep the systems secure so the business can continue to operate without attacks disrupting operations. If making systems more secure has a negative impact on employees being able to do their job, then you didn’t communicate well enough to see how changes to software might interrupt someone else’s workflow.
Certain updates might bring new issues to usability, or require employees to be trained on the differences. I certainly experienced that first hand when completing labs. When watching instructional videos or reading articles on how to use certain tools, there were often significant differences in the older versions of the same software. This forced me have to play around to see how to recreate the same configurations in the newest version of the software. It wasn’t extremely difficult for me, but I can see how someone who isn’t as experienced with computers or certain software could struggle. Someone who is focused on their job as a manager, accountant, or sales associate could be very thrown off by an update that has changes that may seem minor to someone who’s career is in technology. I like to think of how my mom reacts to even the smallest change in the software she uses for work. If a single button is moved to another place on the screen, she has to ask for help. This is why businesses put so much focus into having proper change management.
The Importance of Testing and Having a Rollback Plan
Beyond the human side of vulnerability management is understanding that patches to vulnerabilities can create technical problems as well. This is why testing changes before enacting them in a production environment is so important. This is also why having a rollback plan is essential. If something goes wrong with a patch or configuration change, then there needs to be a clear plan in place to revert back to the previous version or configurations so that the business can continue to function.
Summary
This project was a great introduction into the usefulness of Nessus, and vulnerability management. It made me want to start scanning my personal computers, and my family’s computers as well. I’m sure there are many vulnerabilities on some of them. I am happy to have at least a basic familiarity with Nessus sinse it is so commonly used for vulnerability management, but I’m sure the experience will transfer well to similar tools.

0 Comments